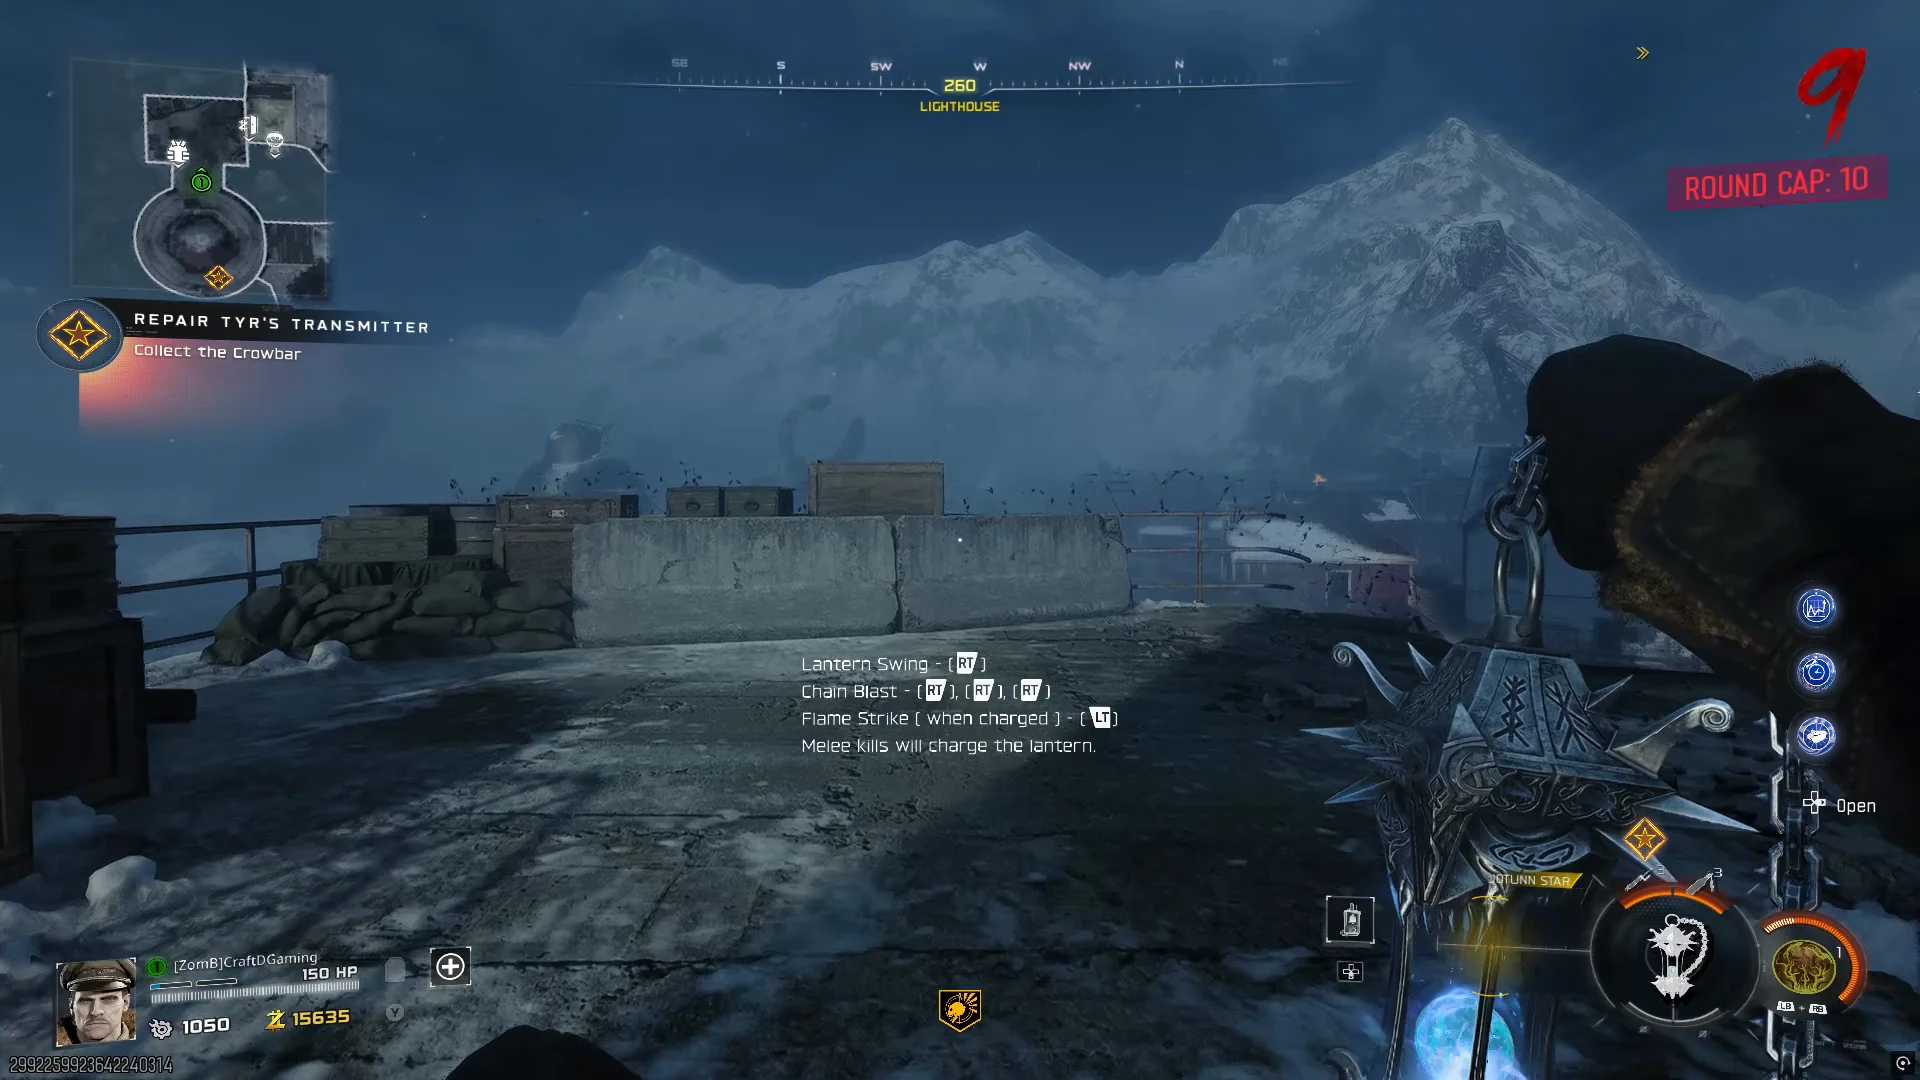
Before you can begin the quest, you'll need to activate the Power and gain access to the Pack-a-Punch machine. Once those requirements are complete, you can start gathering the components needed to build the weapon.
Related Guide
How To Switch On Power

Related Guide
How To Open Pack-A-Punch

Step 1: Gather the Three Components
Chains
Travel to the Dry Dock area and enter the Titan Crane building. Interact with the control button to lower a wooden panel.
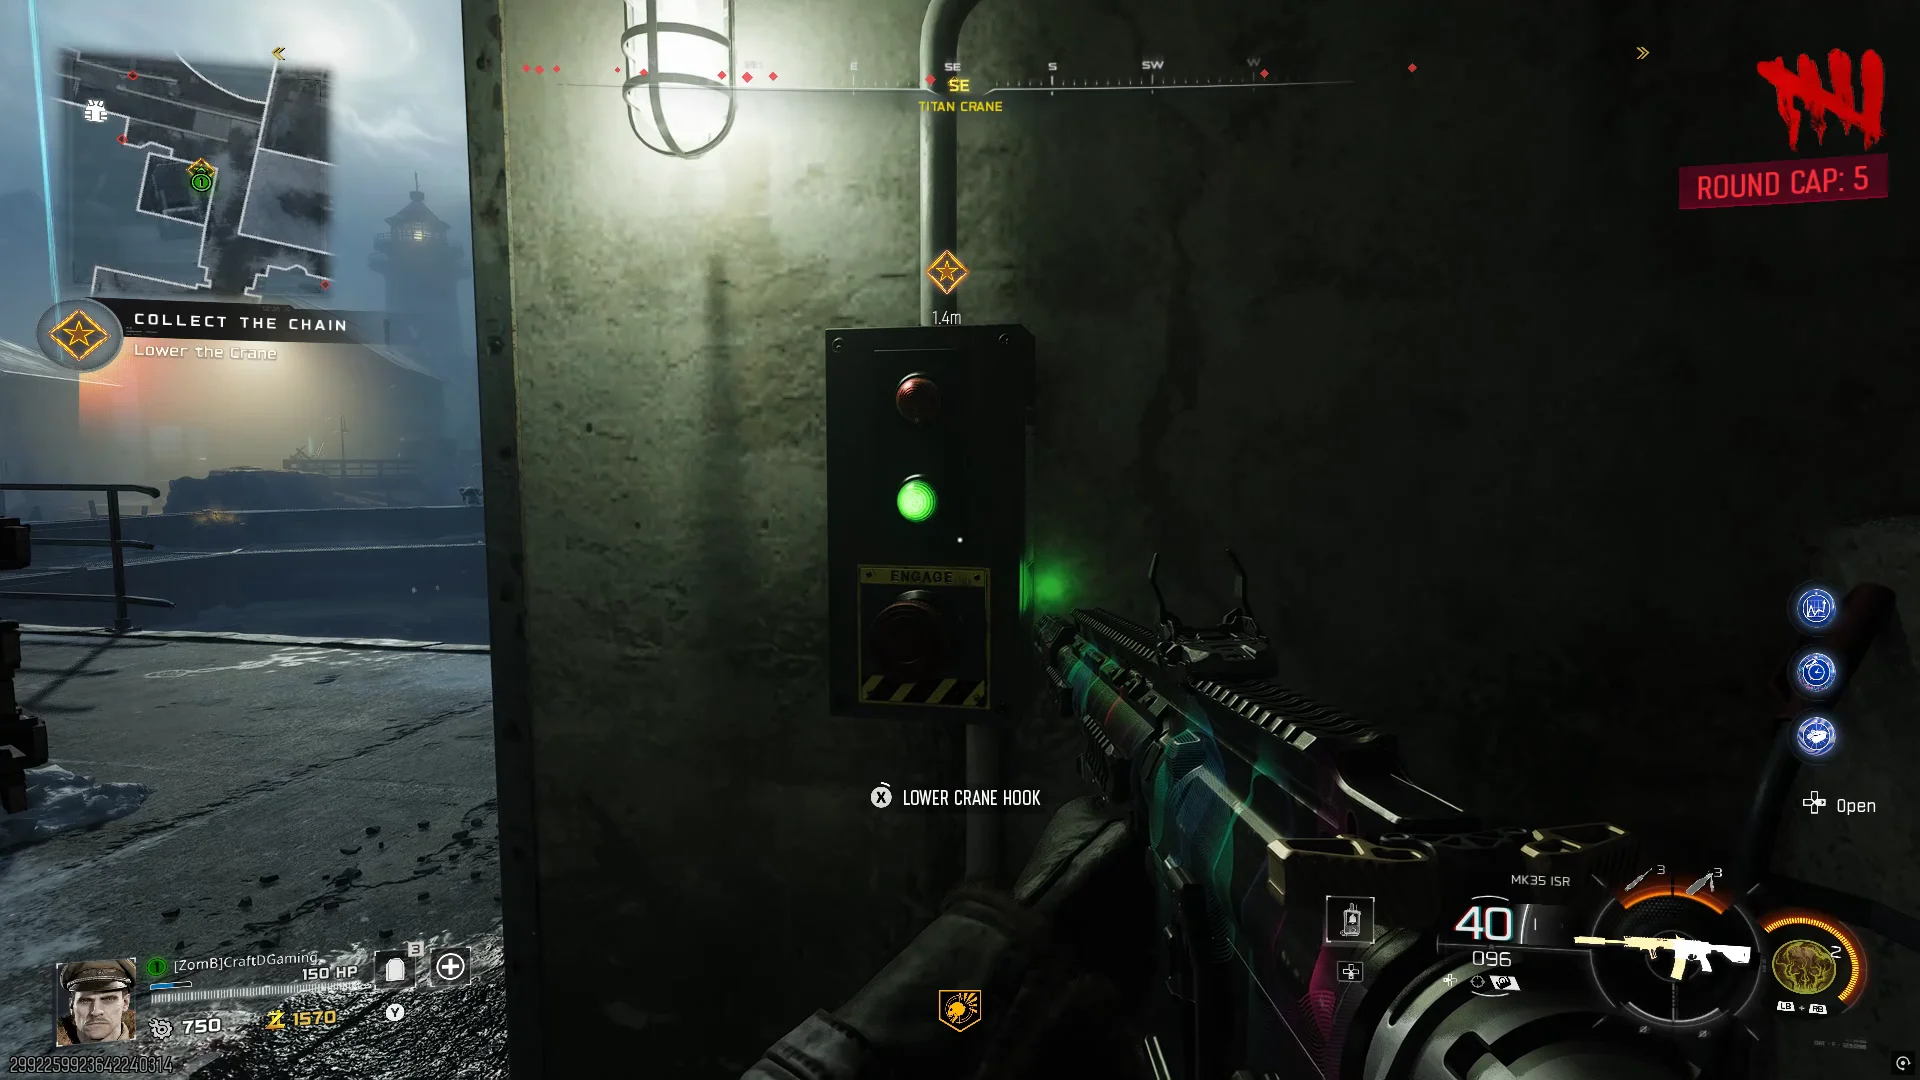
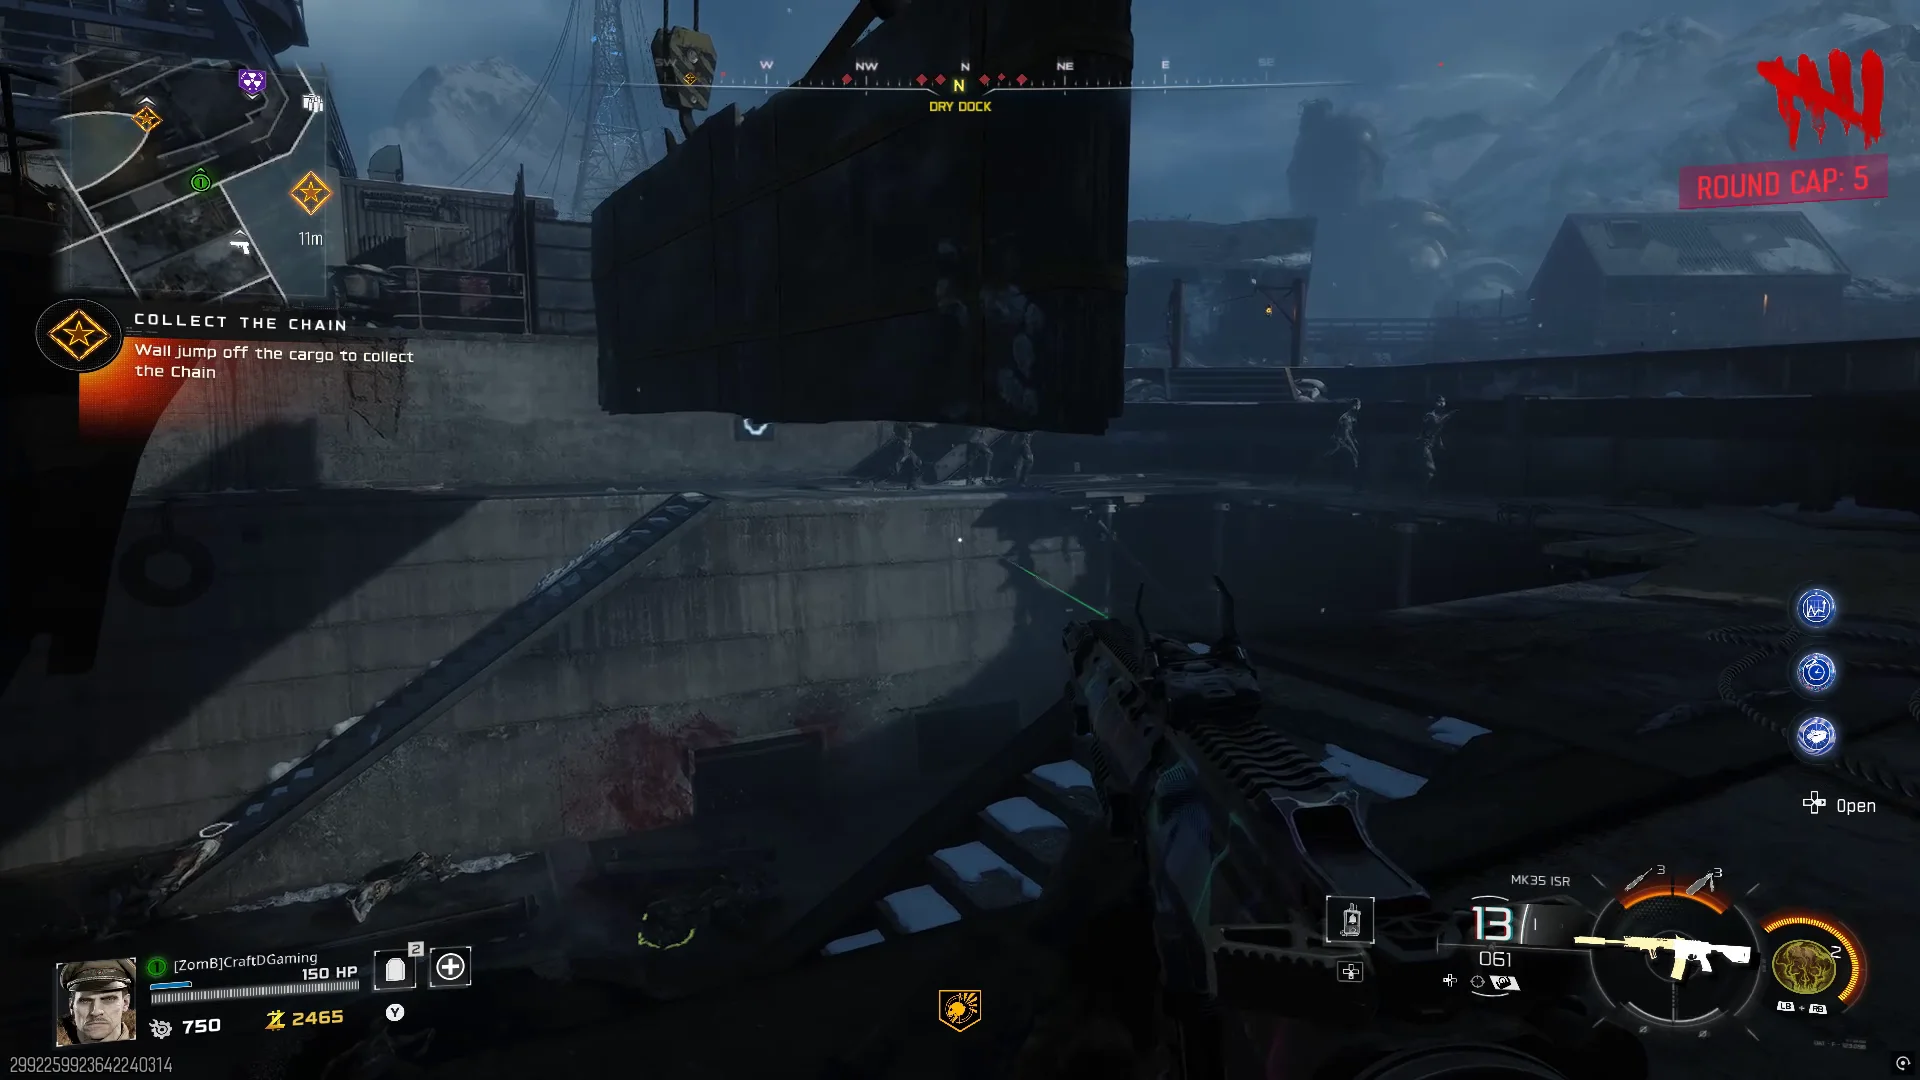
Use the panel to perform a wall jump toward the front section of the ship and collect the Chains at the front of the boat.

Chili Chunks
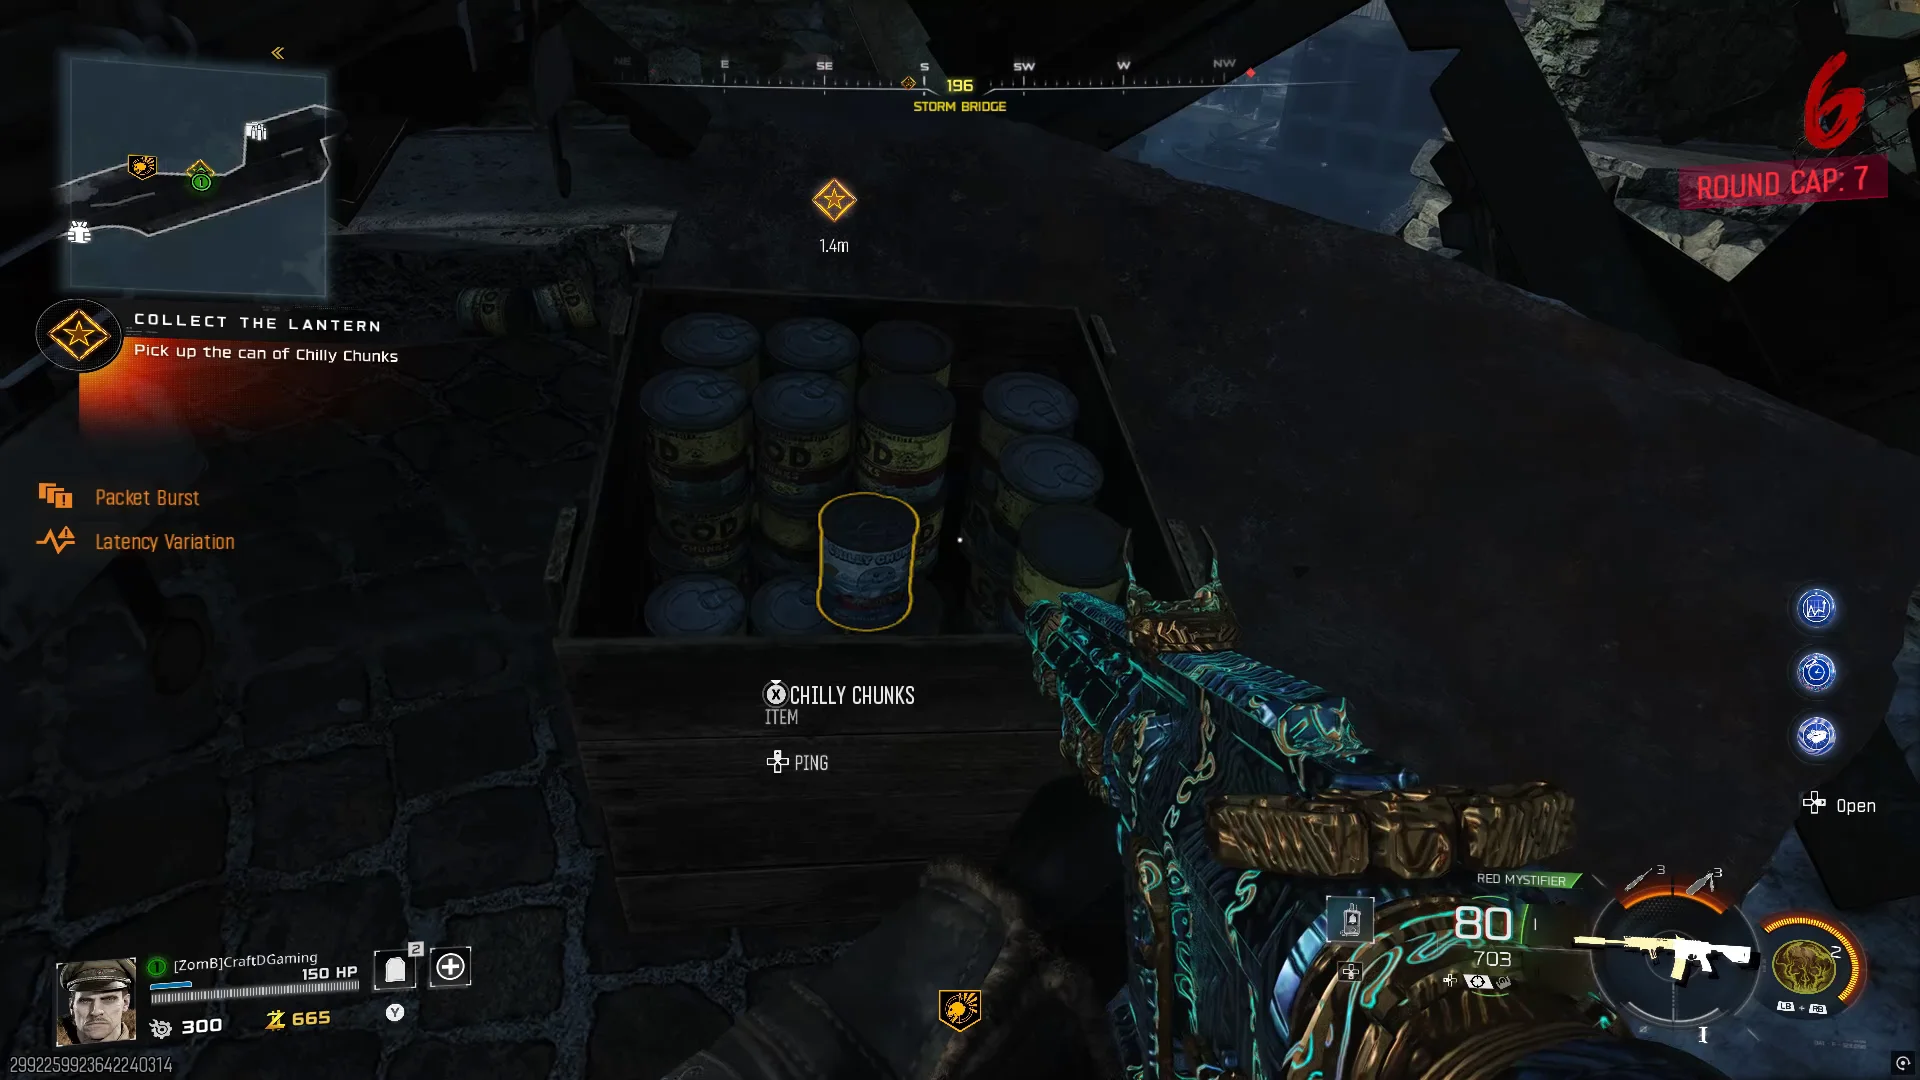
Head over to Storm Bridge and look behind the truck located near the Deadshot Daiquiri machine. You'll find a can of Chili Chunks waiting to be picked up.
Lantern
Take the Chili Chunks to the marketplace and place them on the central table.
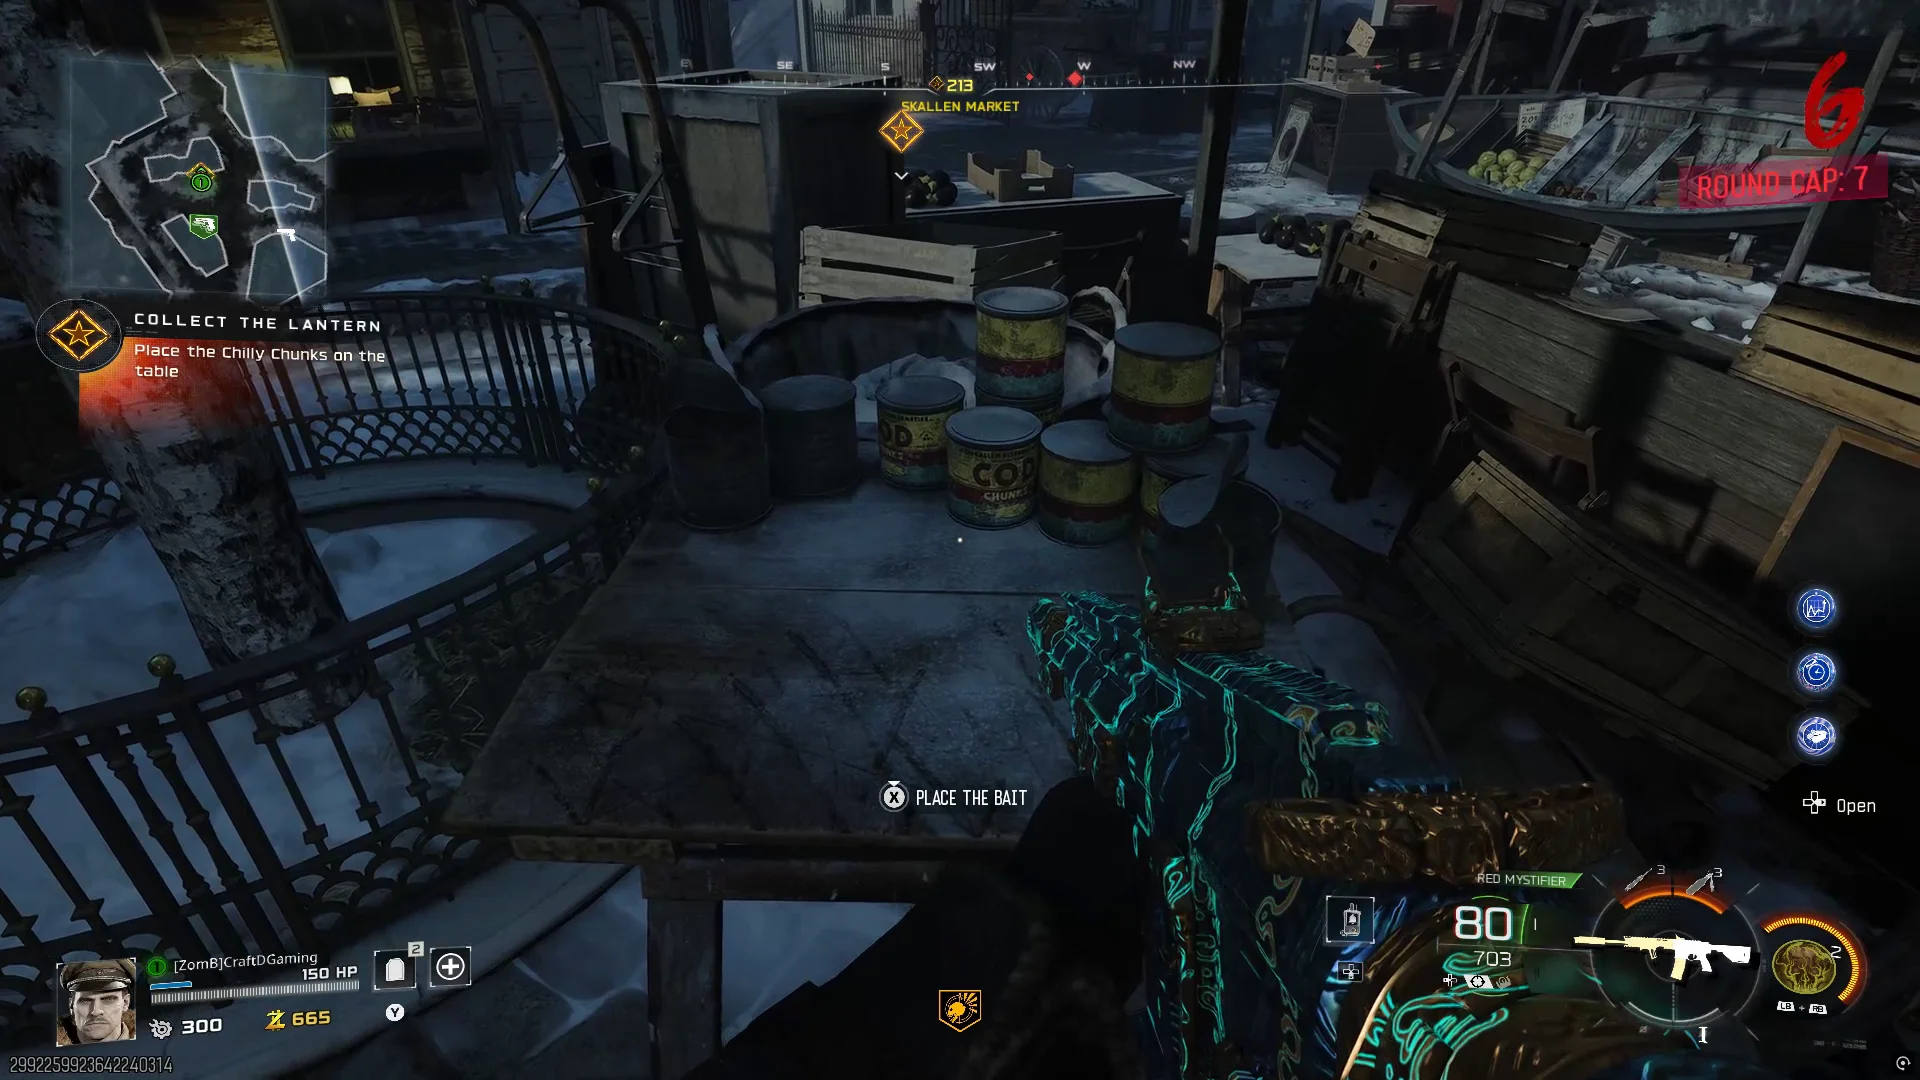
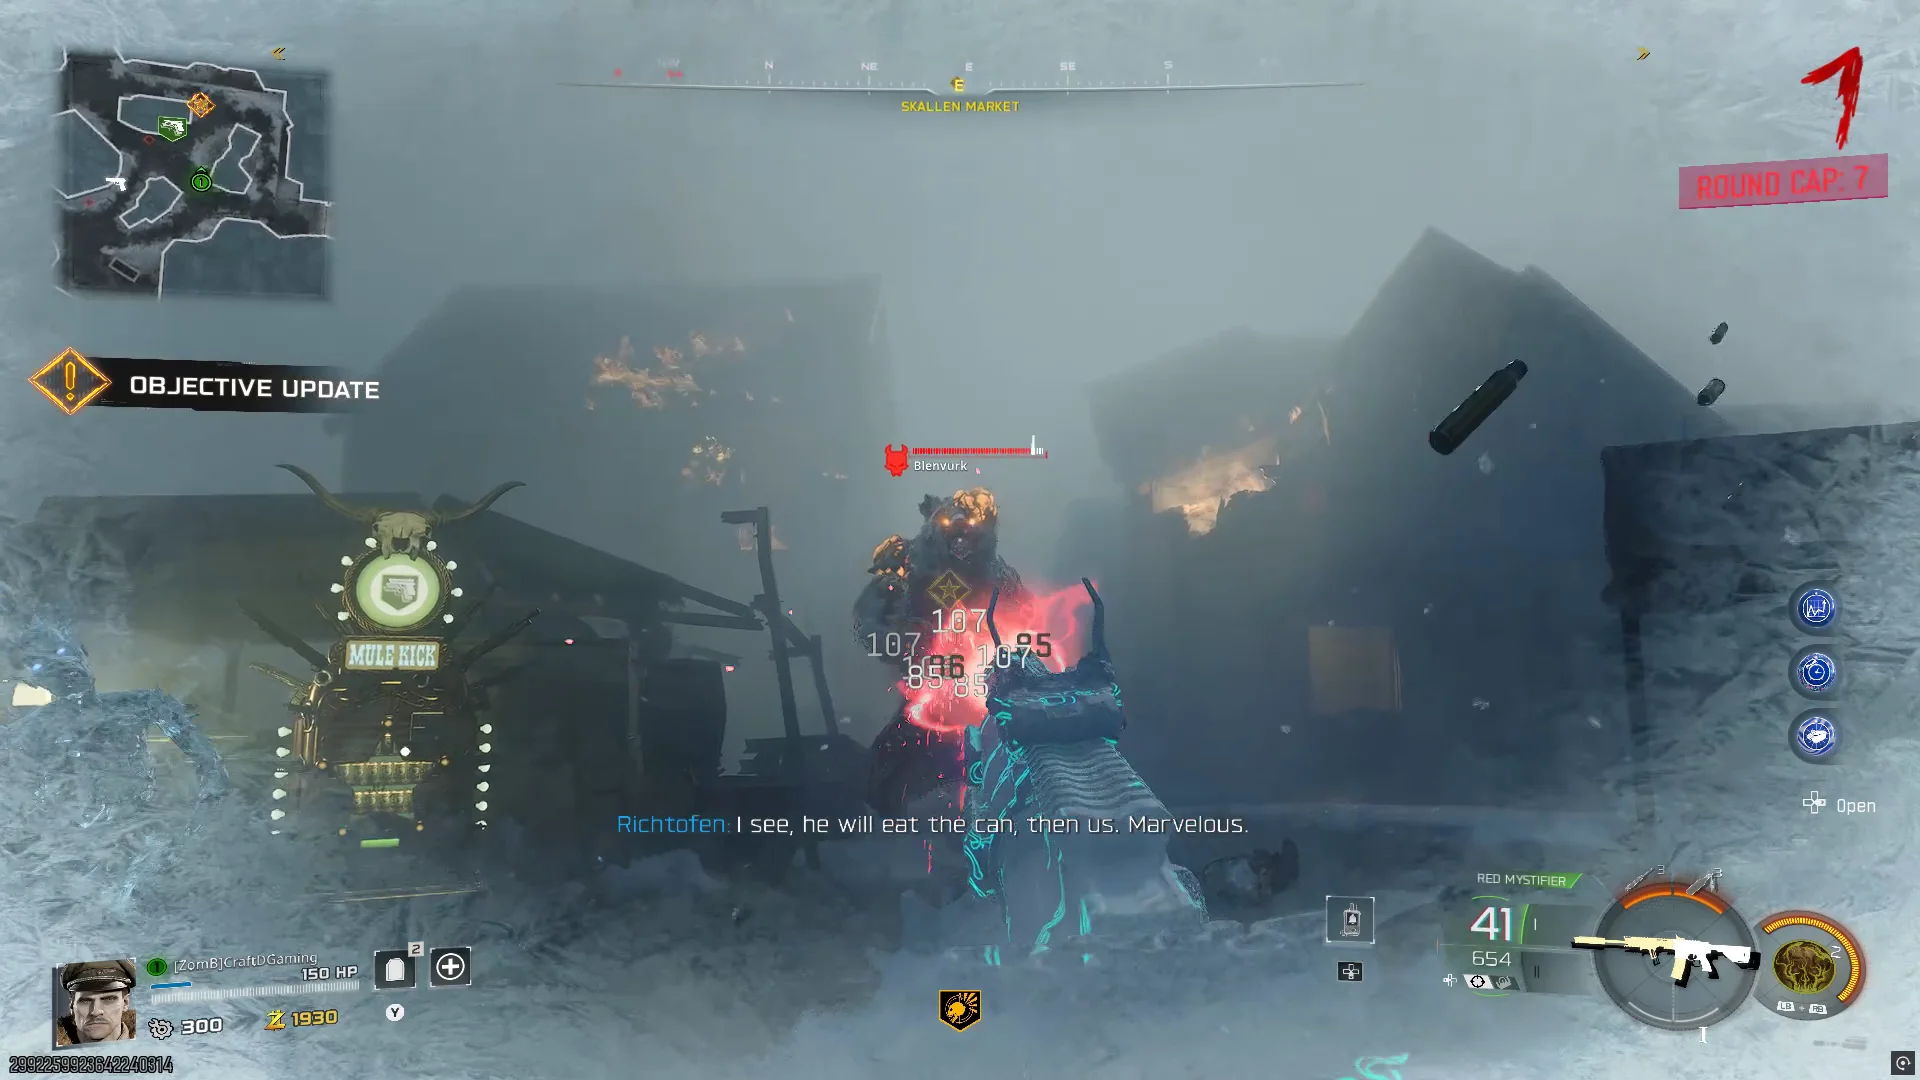
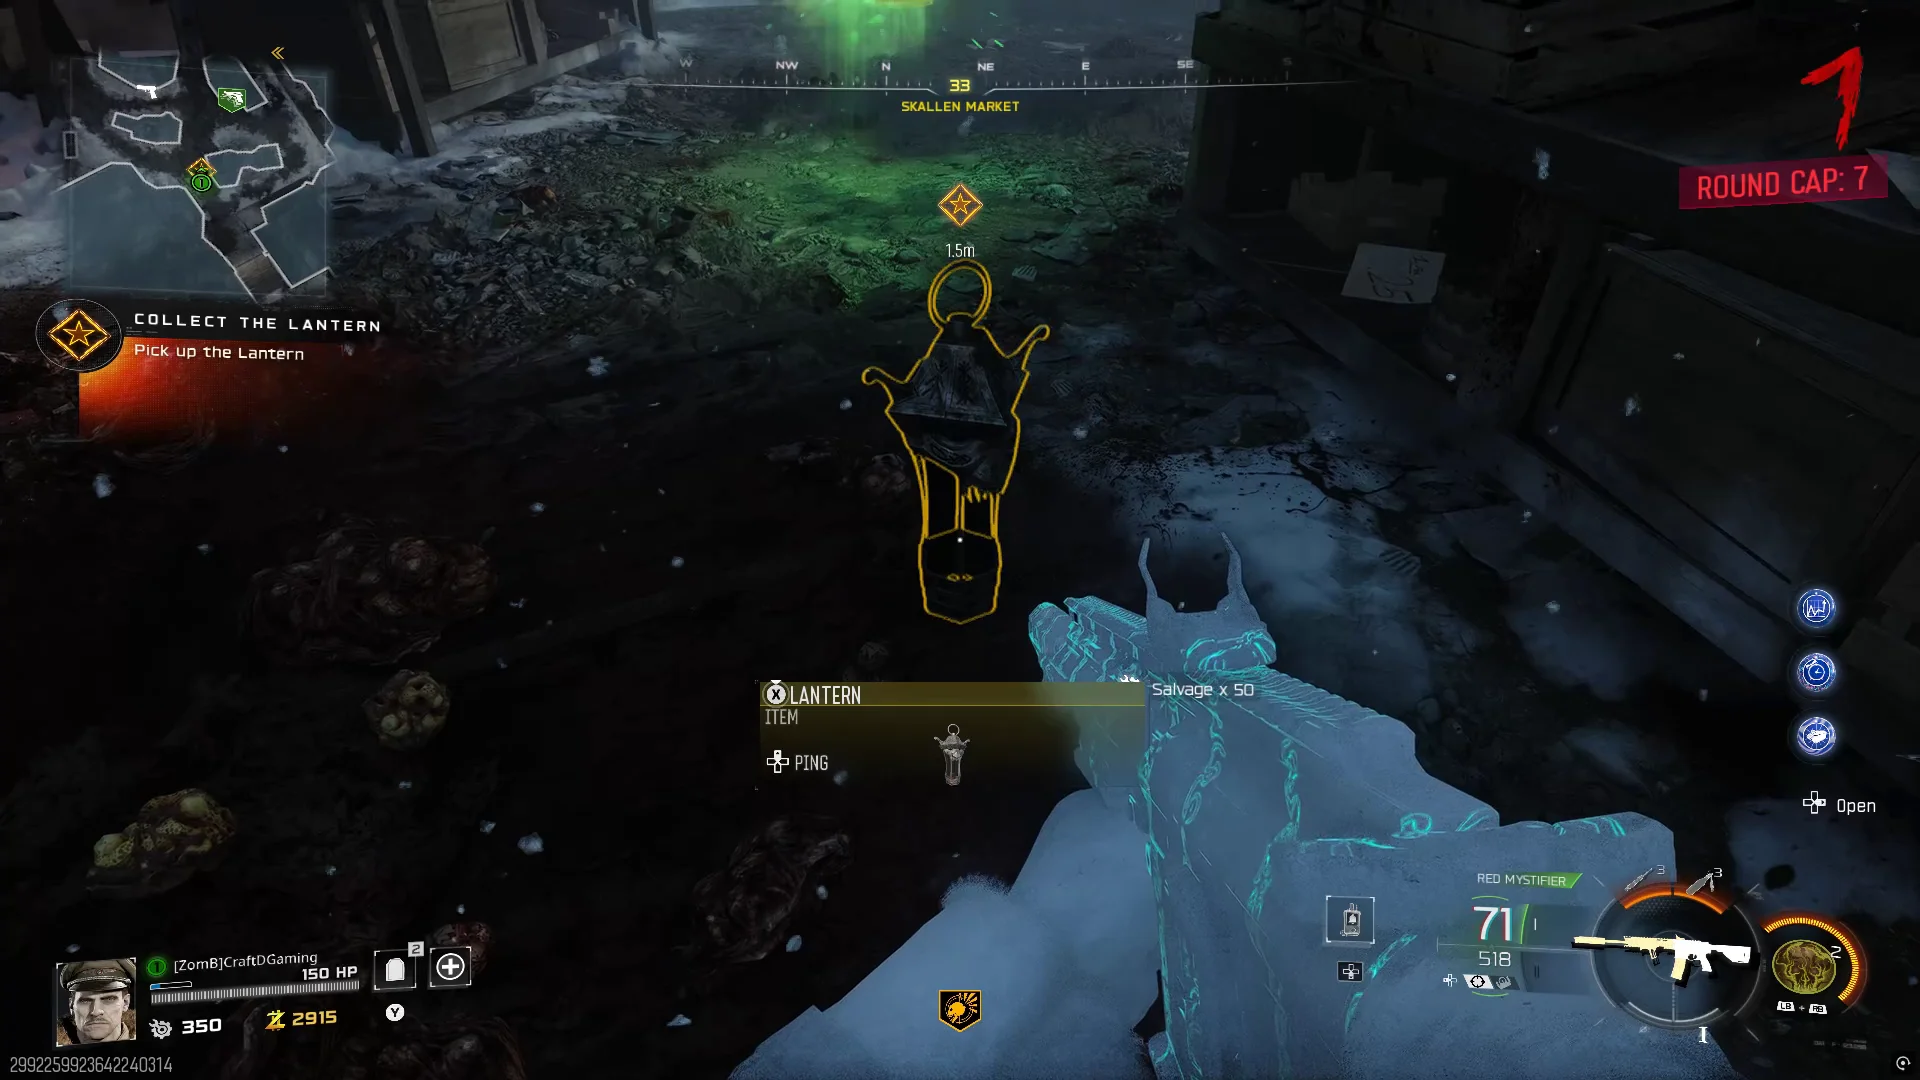
Continue progressing rounds until a special frozen zombie round begins. During this round, a powerful Zursa polar bear enemy will appear. Defeat it to receive the Lantern.
Step 2: Complete the Constellation Puzzle
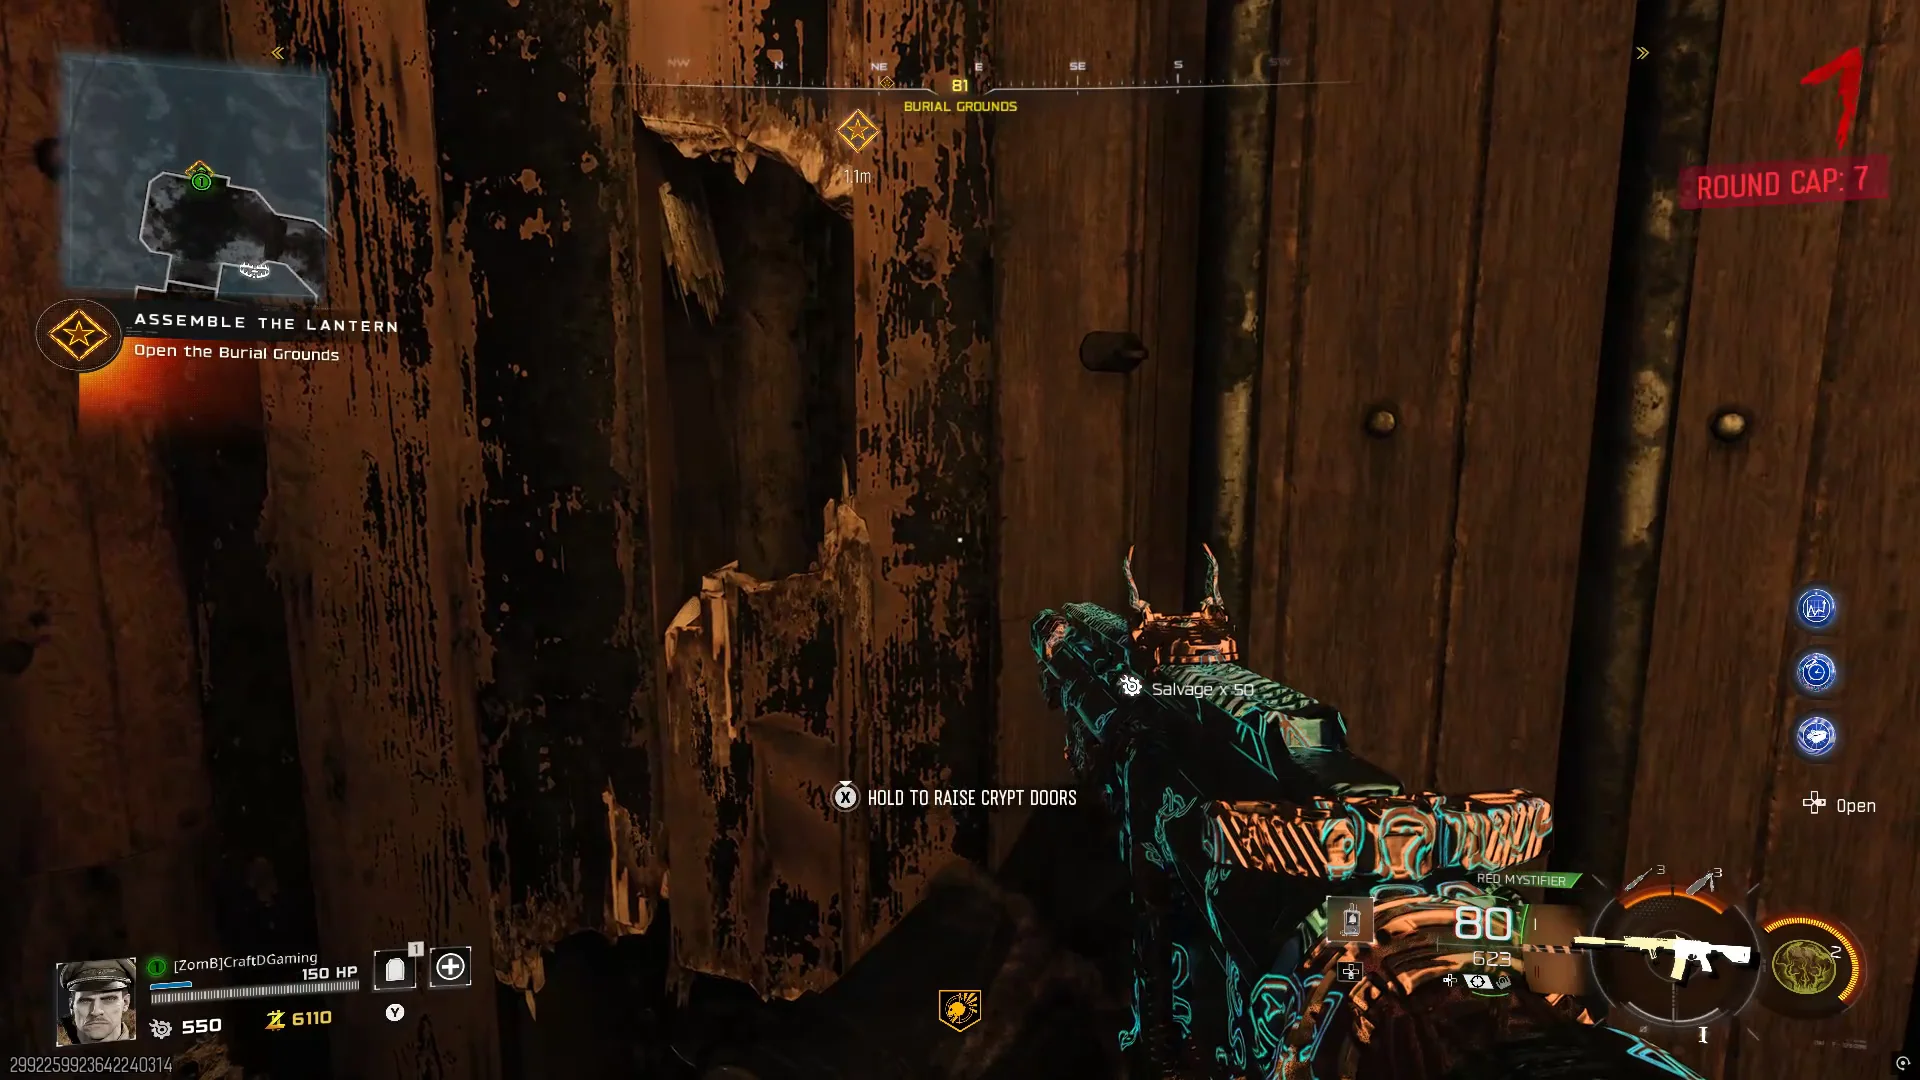
Make your way to the Burial Grounds beside the church and interact with the chained door to gain access to the basement below.
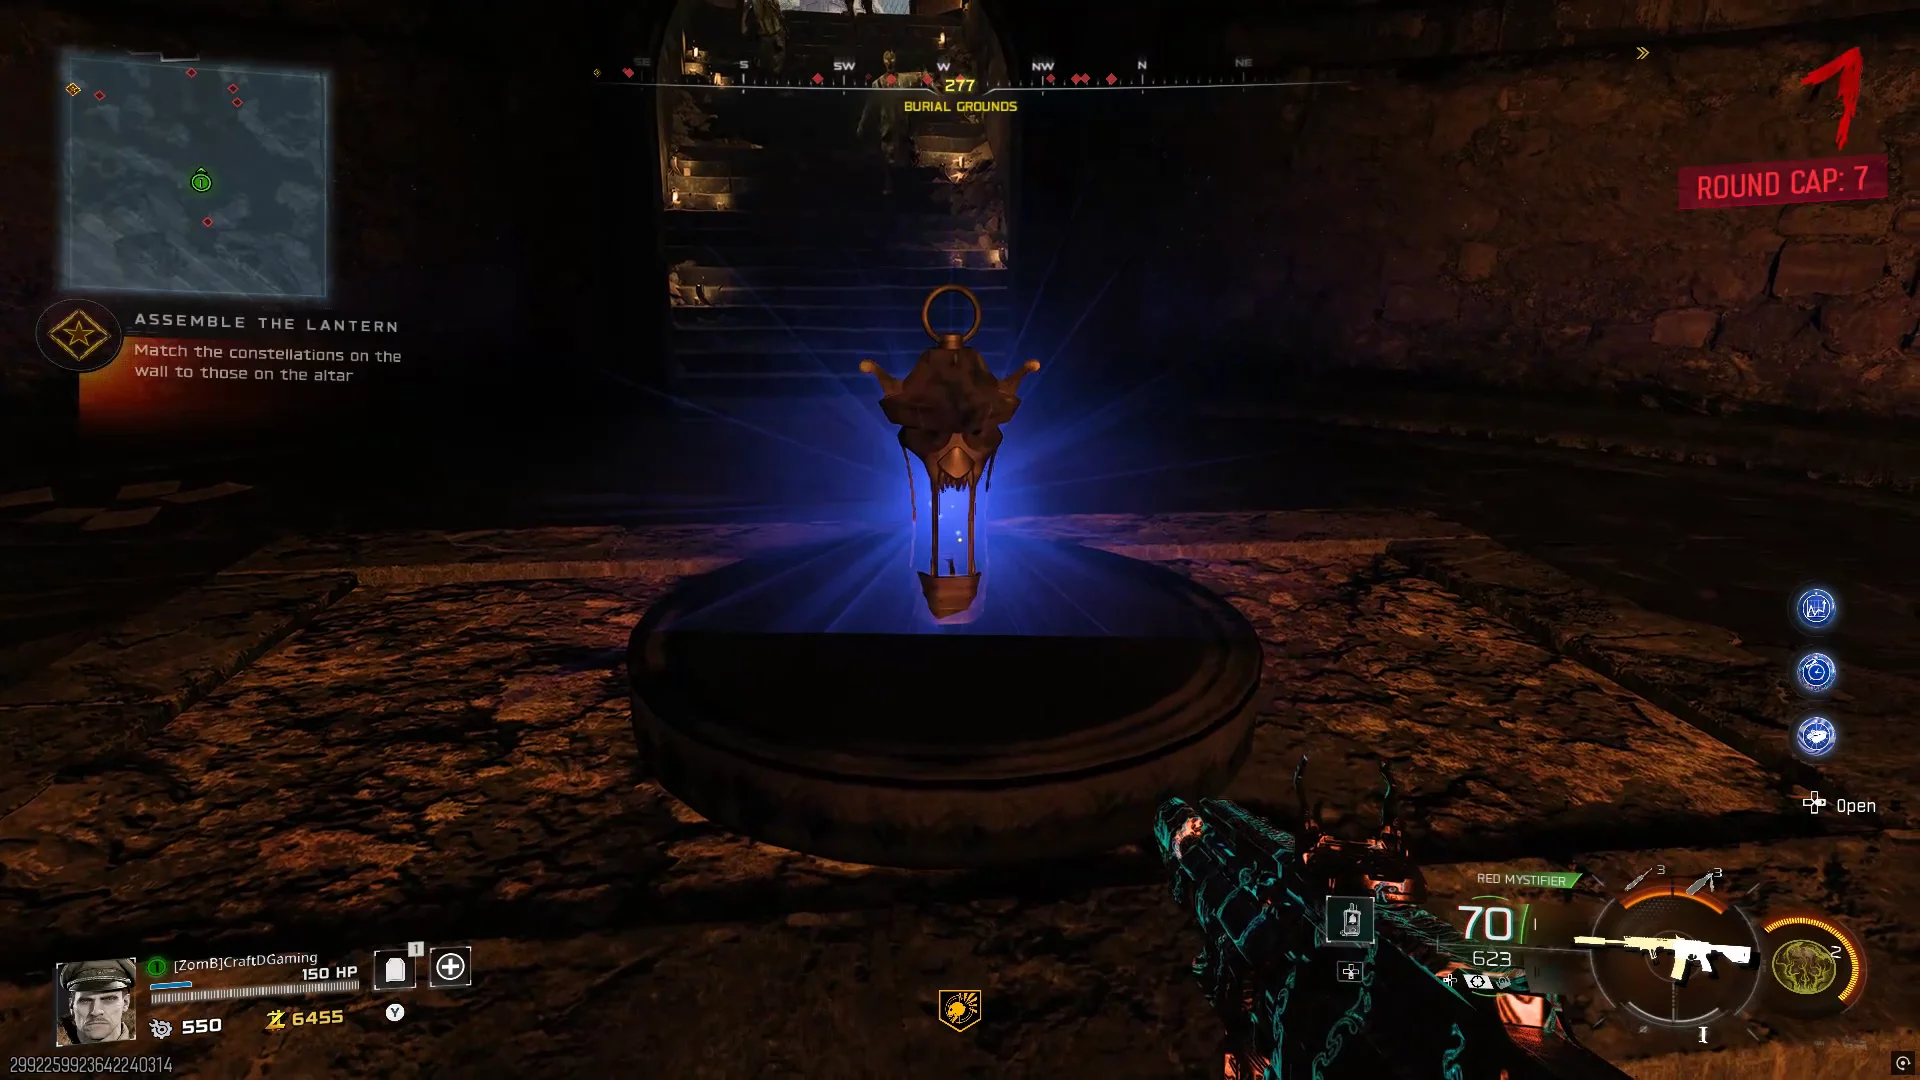
Place the Lantern onto the stone altar in the centre of the room. This will reveal a series of constellation symbols both on the altar and around the walls.
Examine the order shown on the altar and activate the matching wall symbols in the following sequence:
- Left
- Right
- Back
- Front
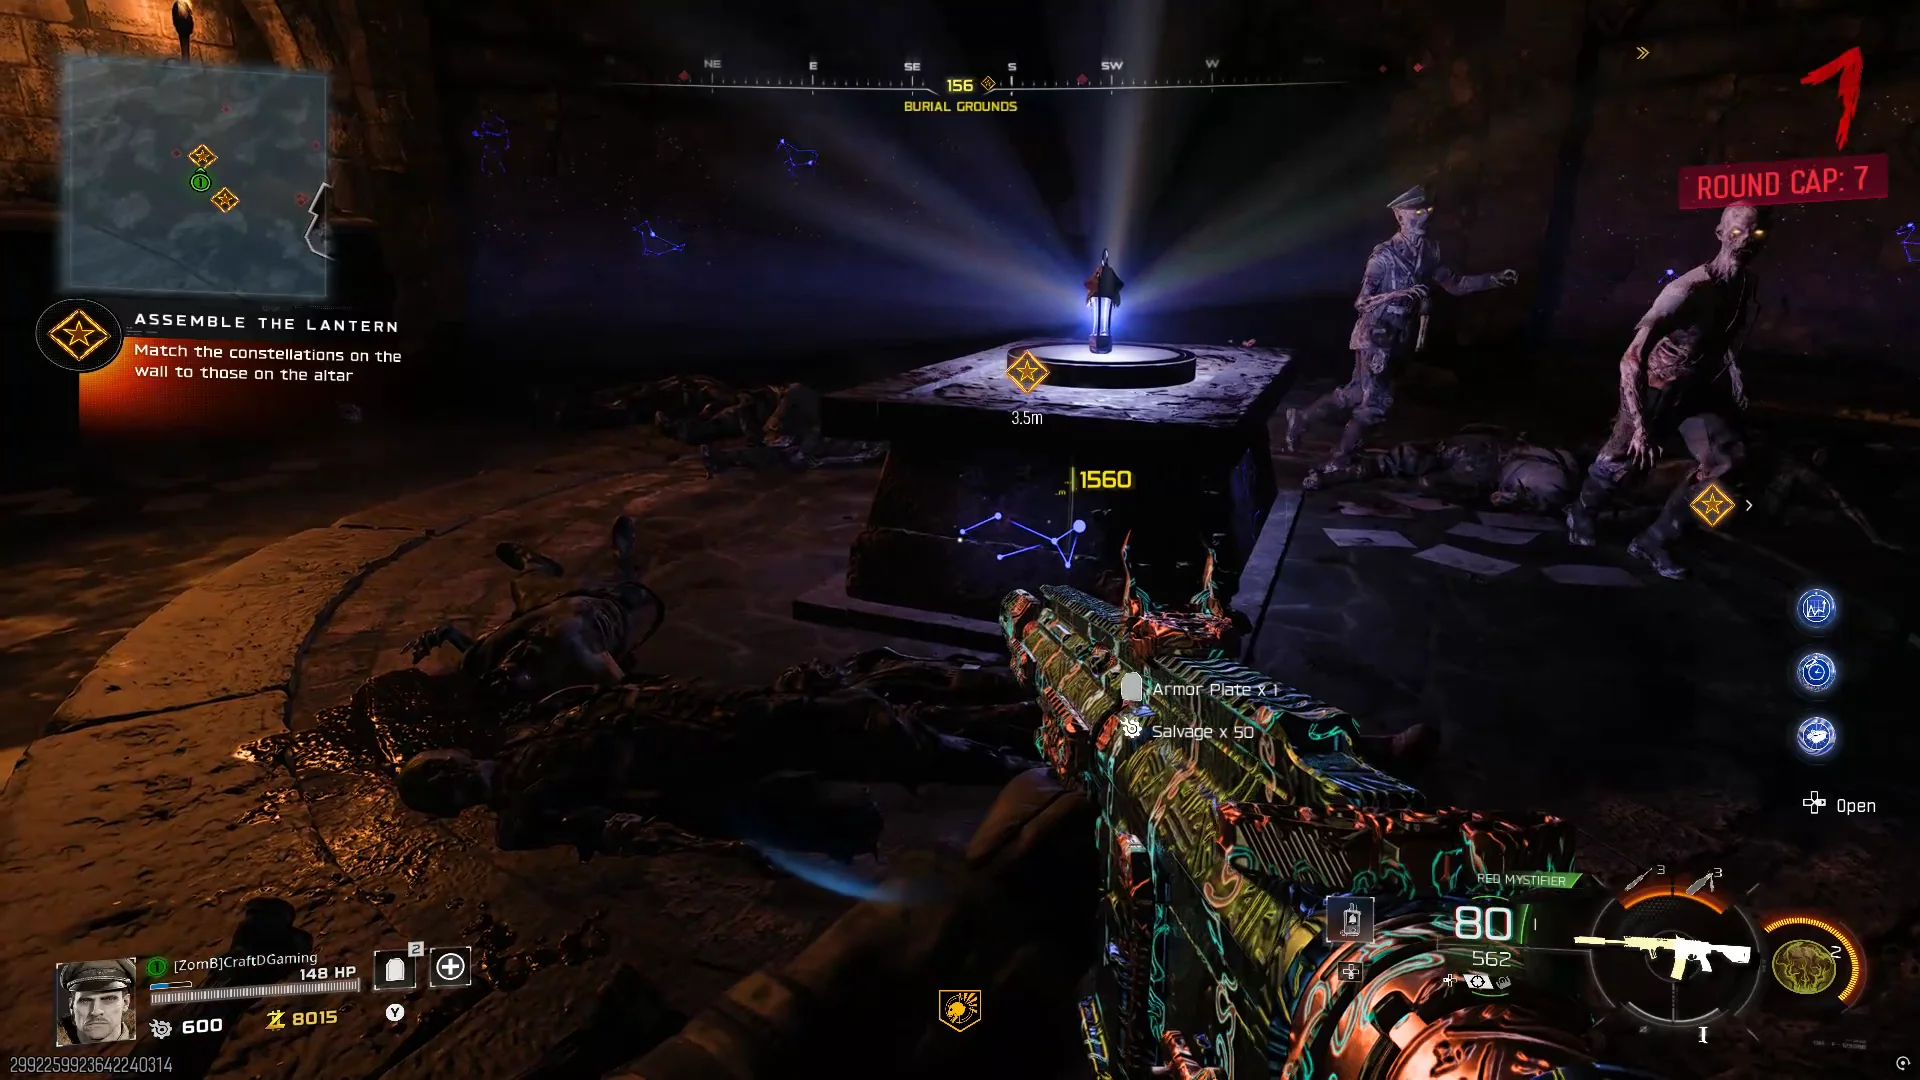
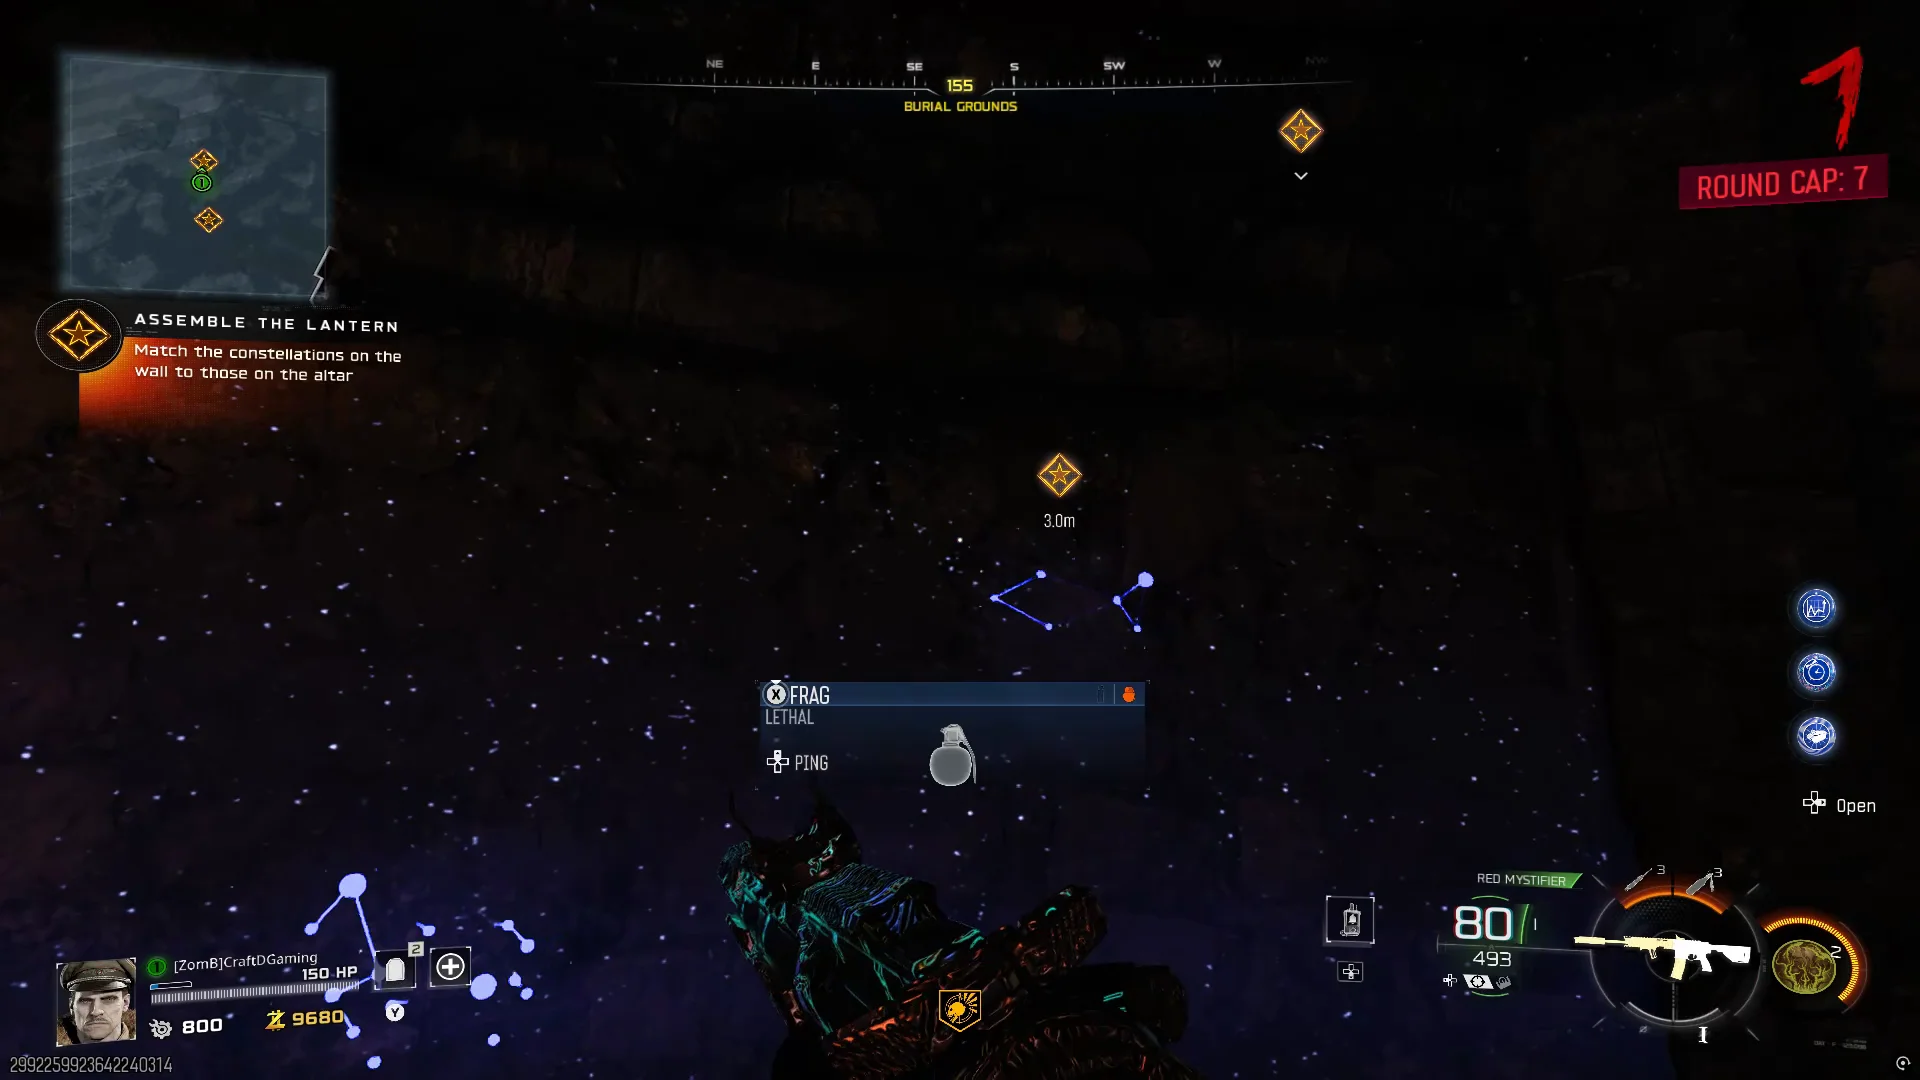
Entering the correct combination will complete the puzzle and begin the next stage of the quest.
Step 3: Escort Astrid
After solving the constellation puzzle, the spirit of Astrid will appear. Follow her as she travels through different areas of the map.
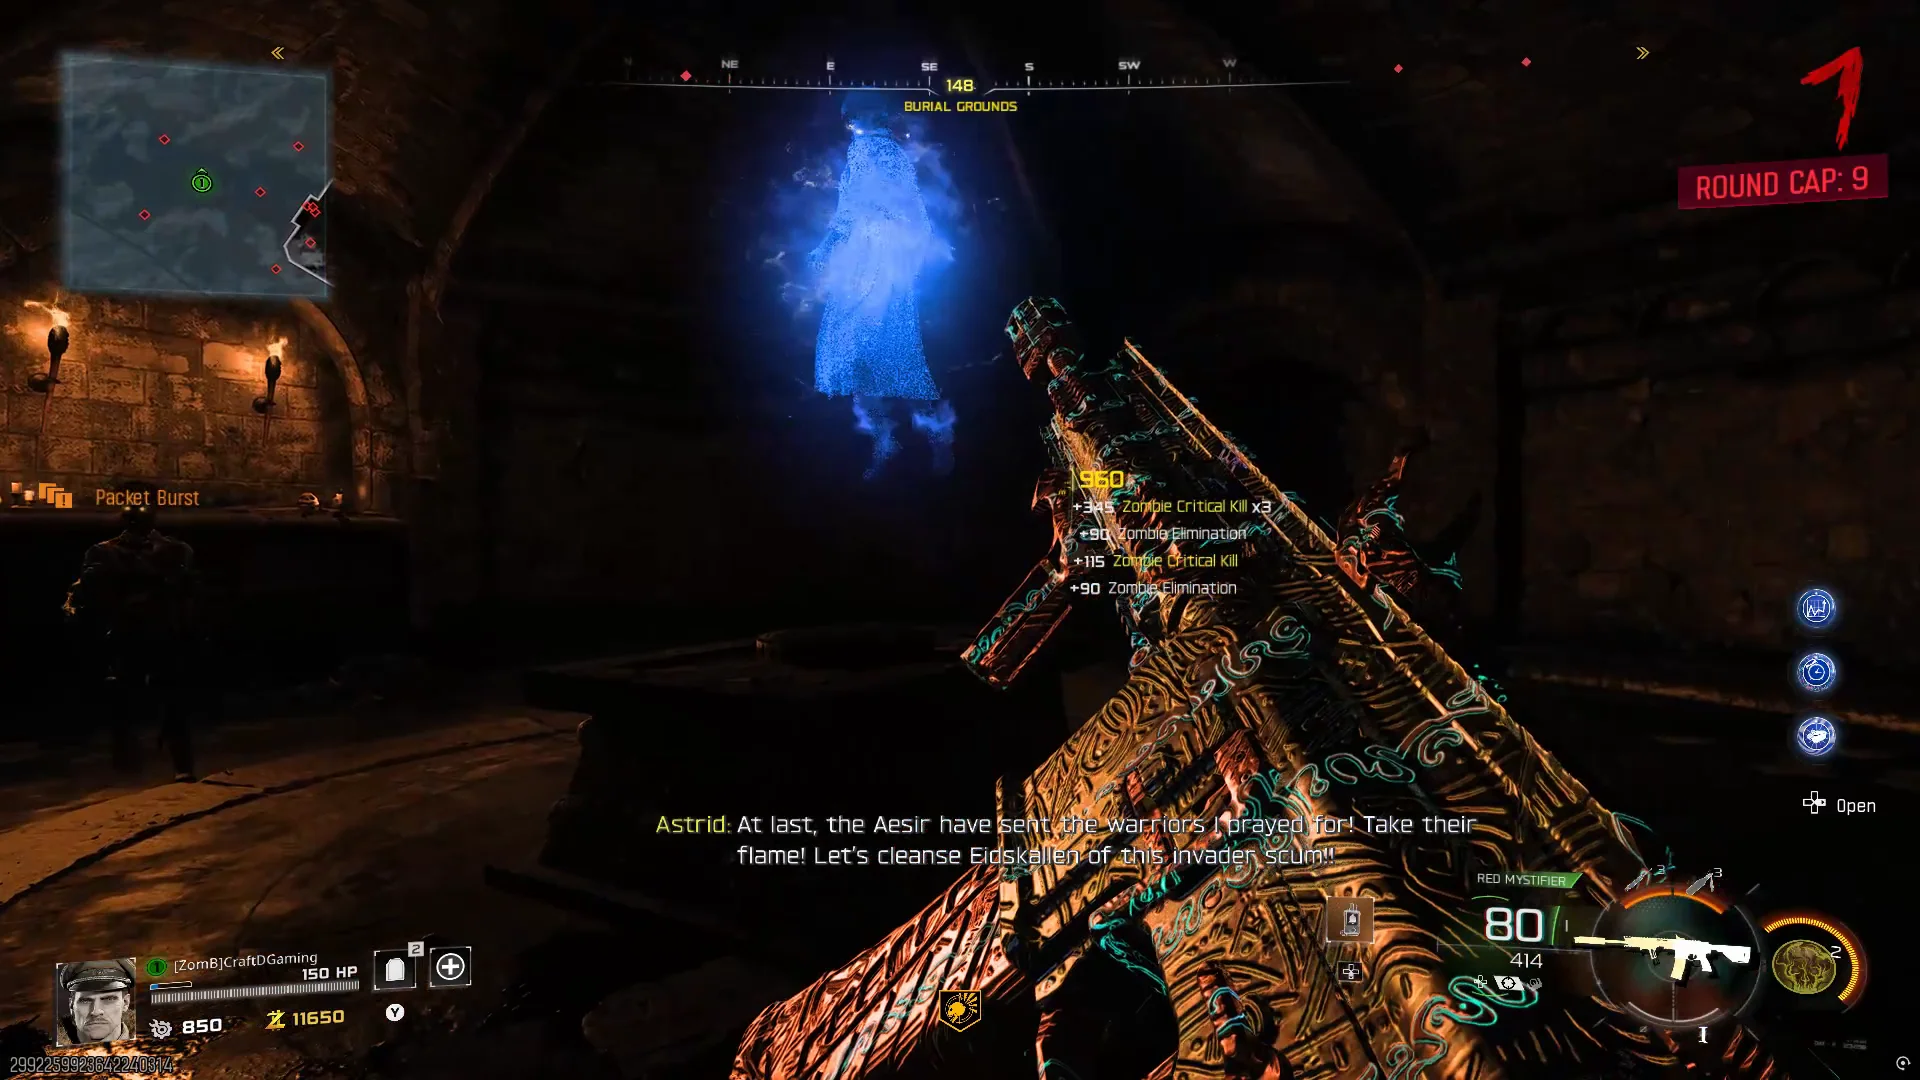
At various locations, Astrid will stop and summon groups of frozen zombies with glowing purple eyes. Eliminate these enemies near her to collect the required souls and allow her journey to continue.
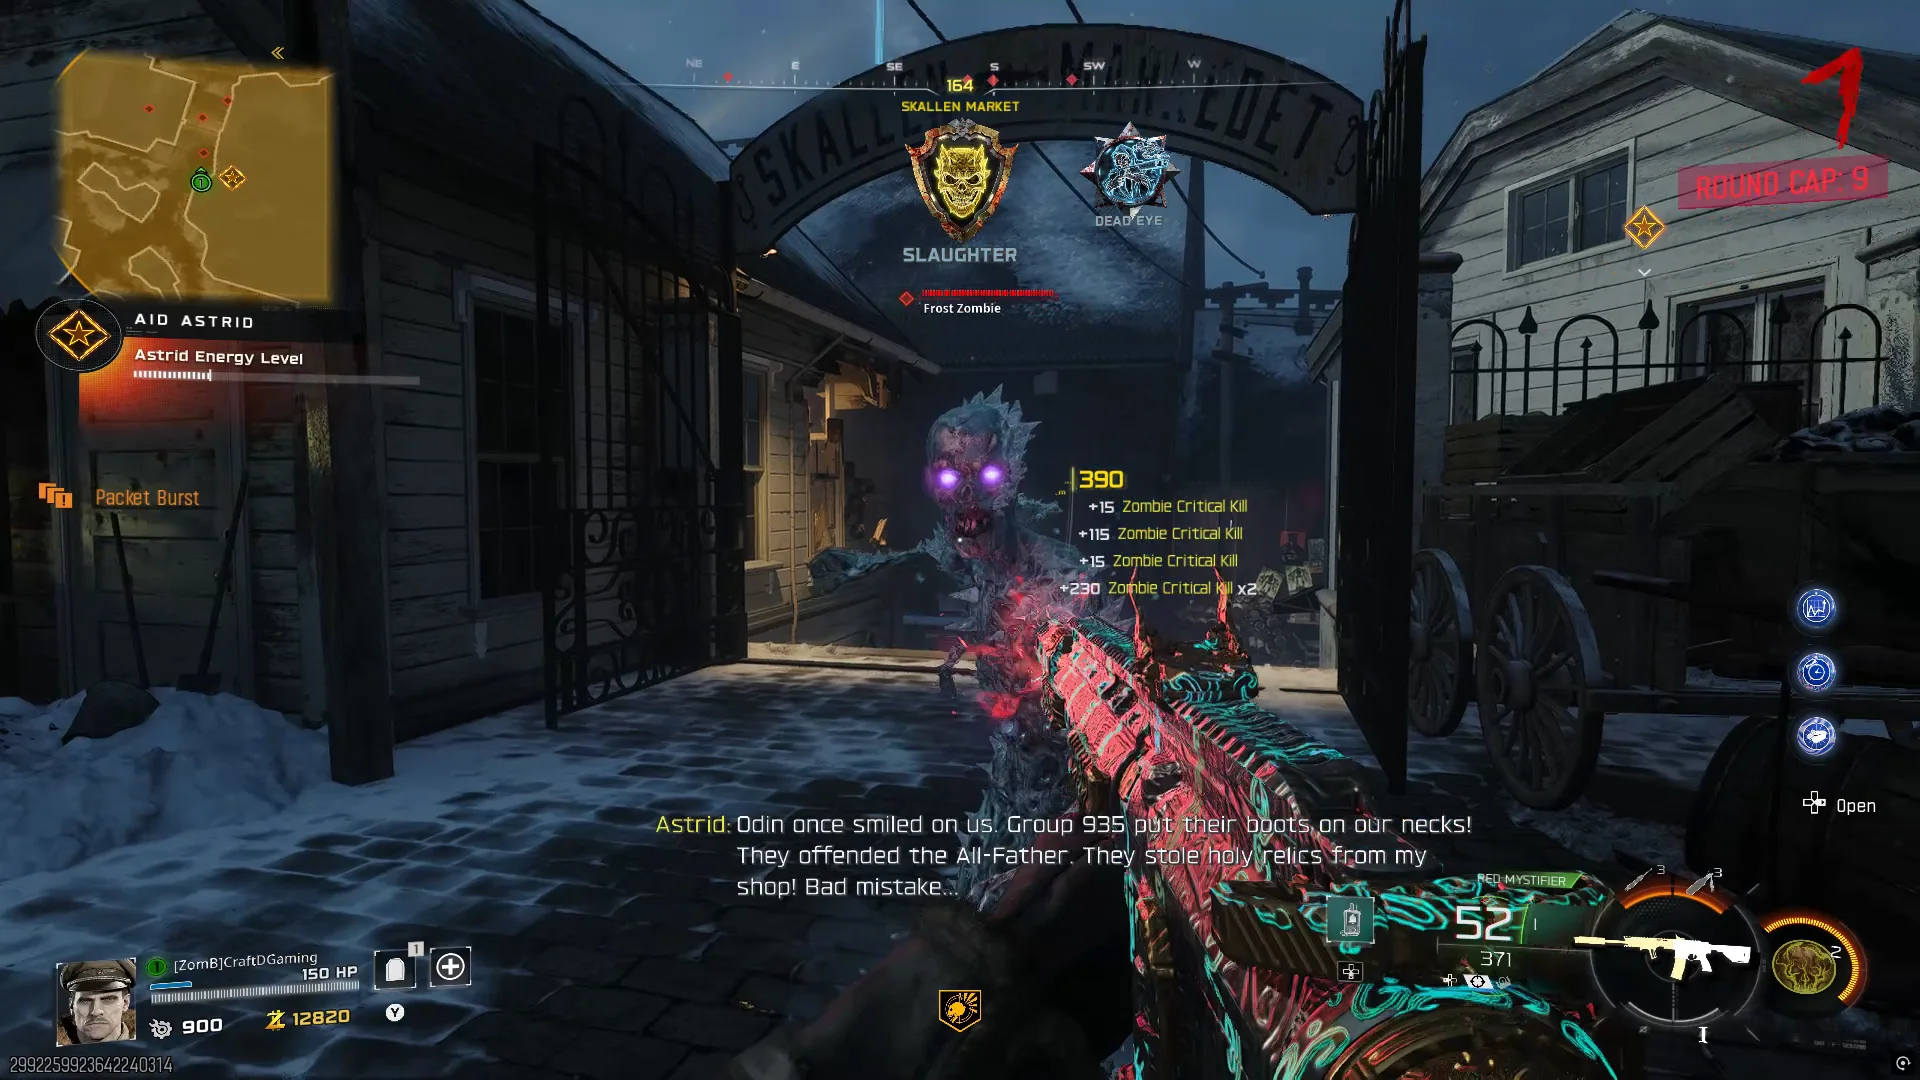
Keep following Astrid until she eventually reaches the shoreline near the lighthouse.
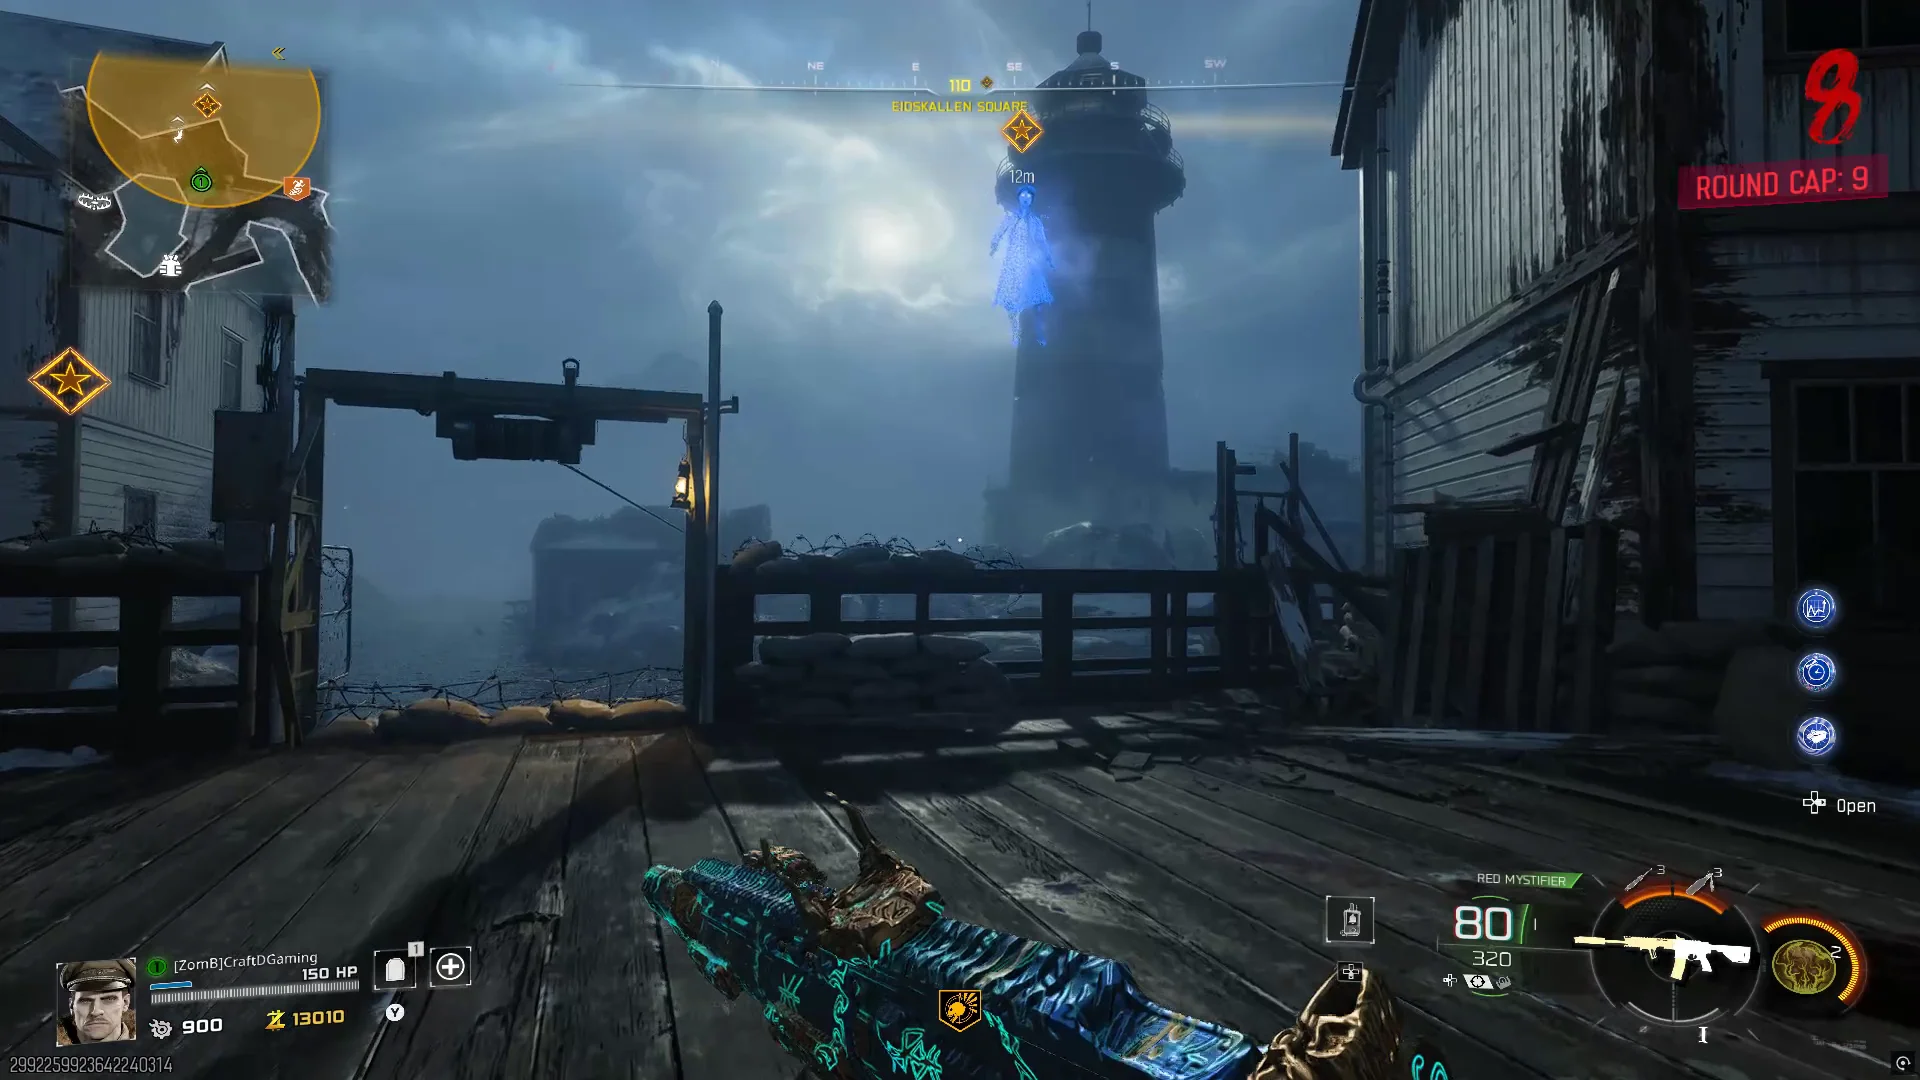
Step 4: Reach the Lighthouse
Once Astrid arrives at the water's edge, a path of floating rocks will appear leading toward the lighthouse.
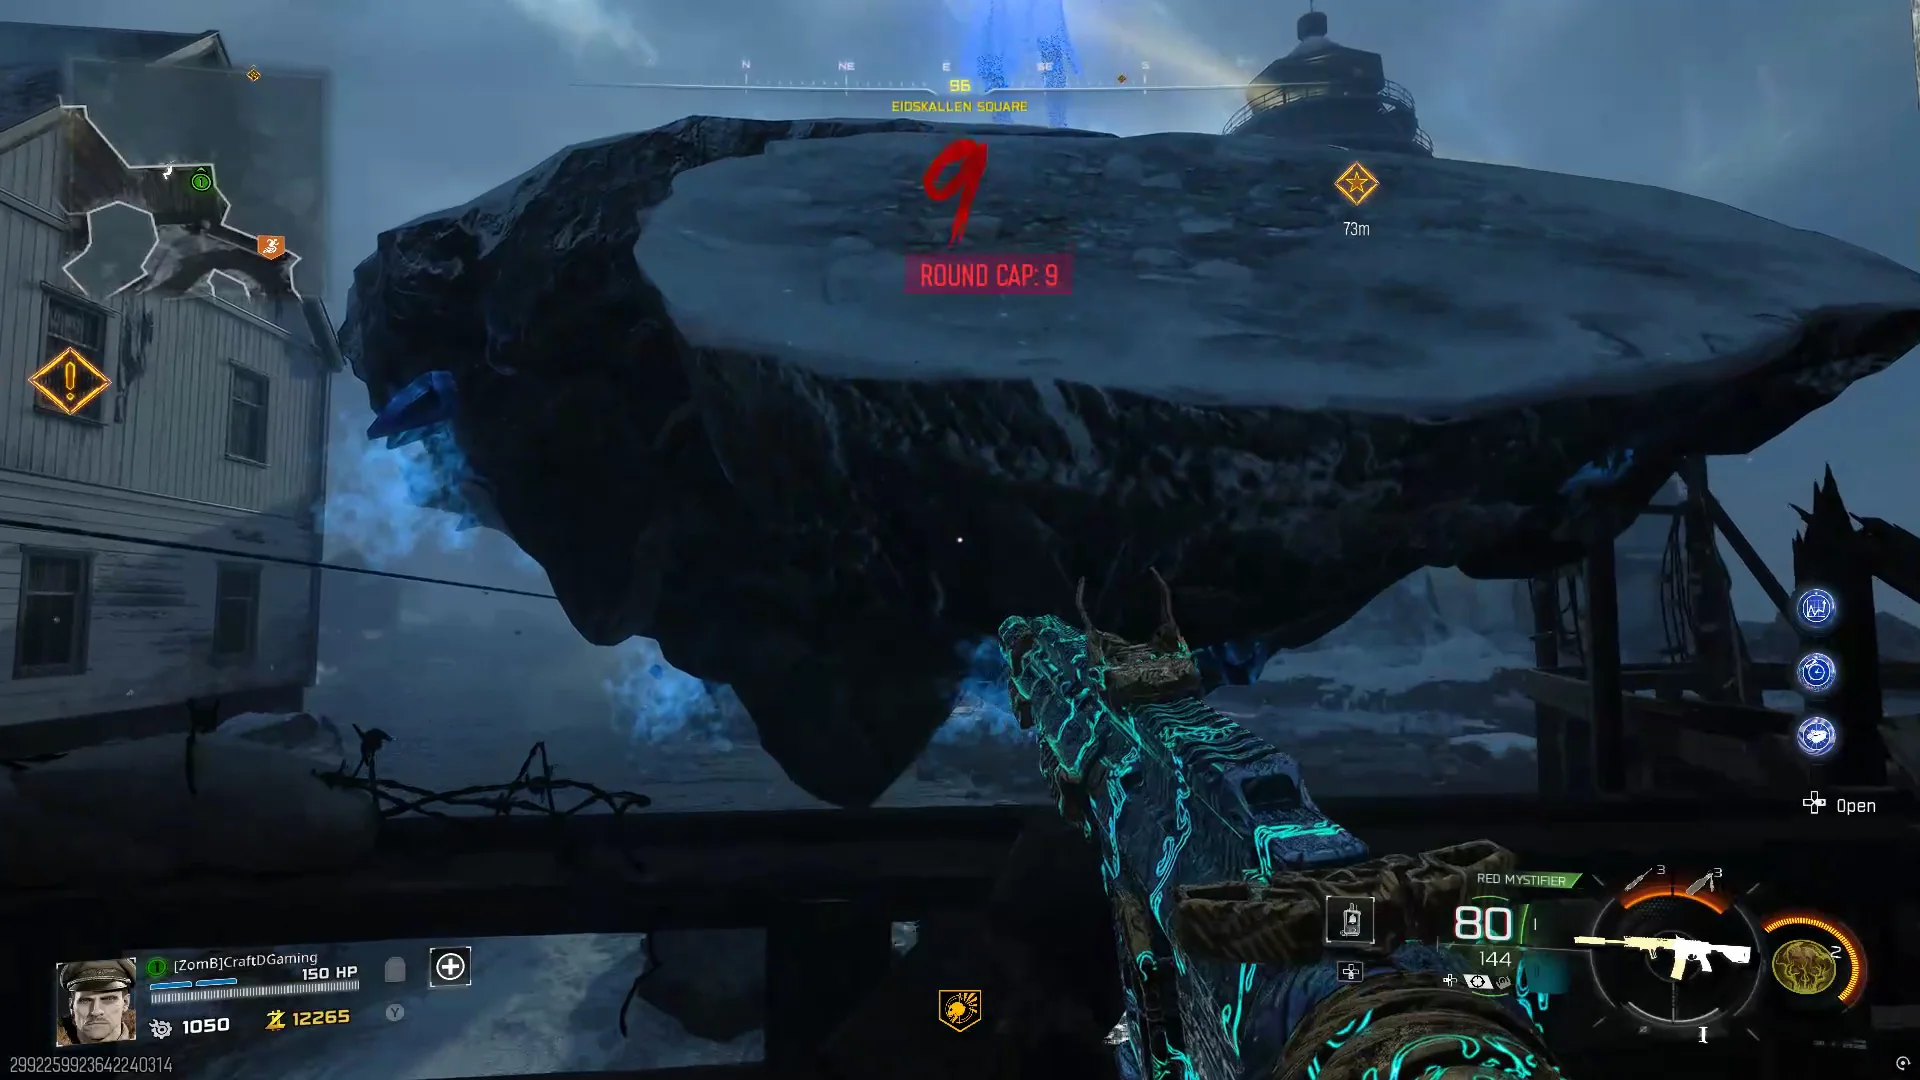
Carefully jump across the rocks and make your way inside the lighthouse. Don't worry too much if you fall off - you won't die - you'll just teleport back up. Climb all the way to the top and interact with the ladder to claim the Jotunn Star Wonder Weapon.
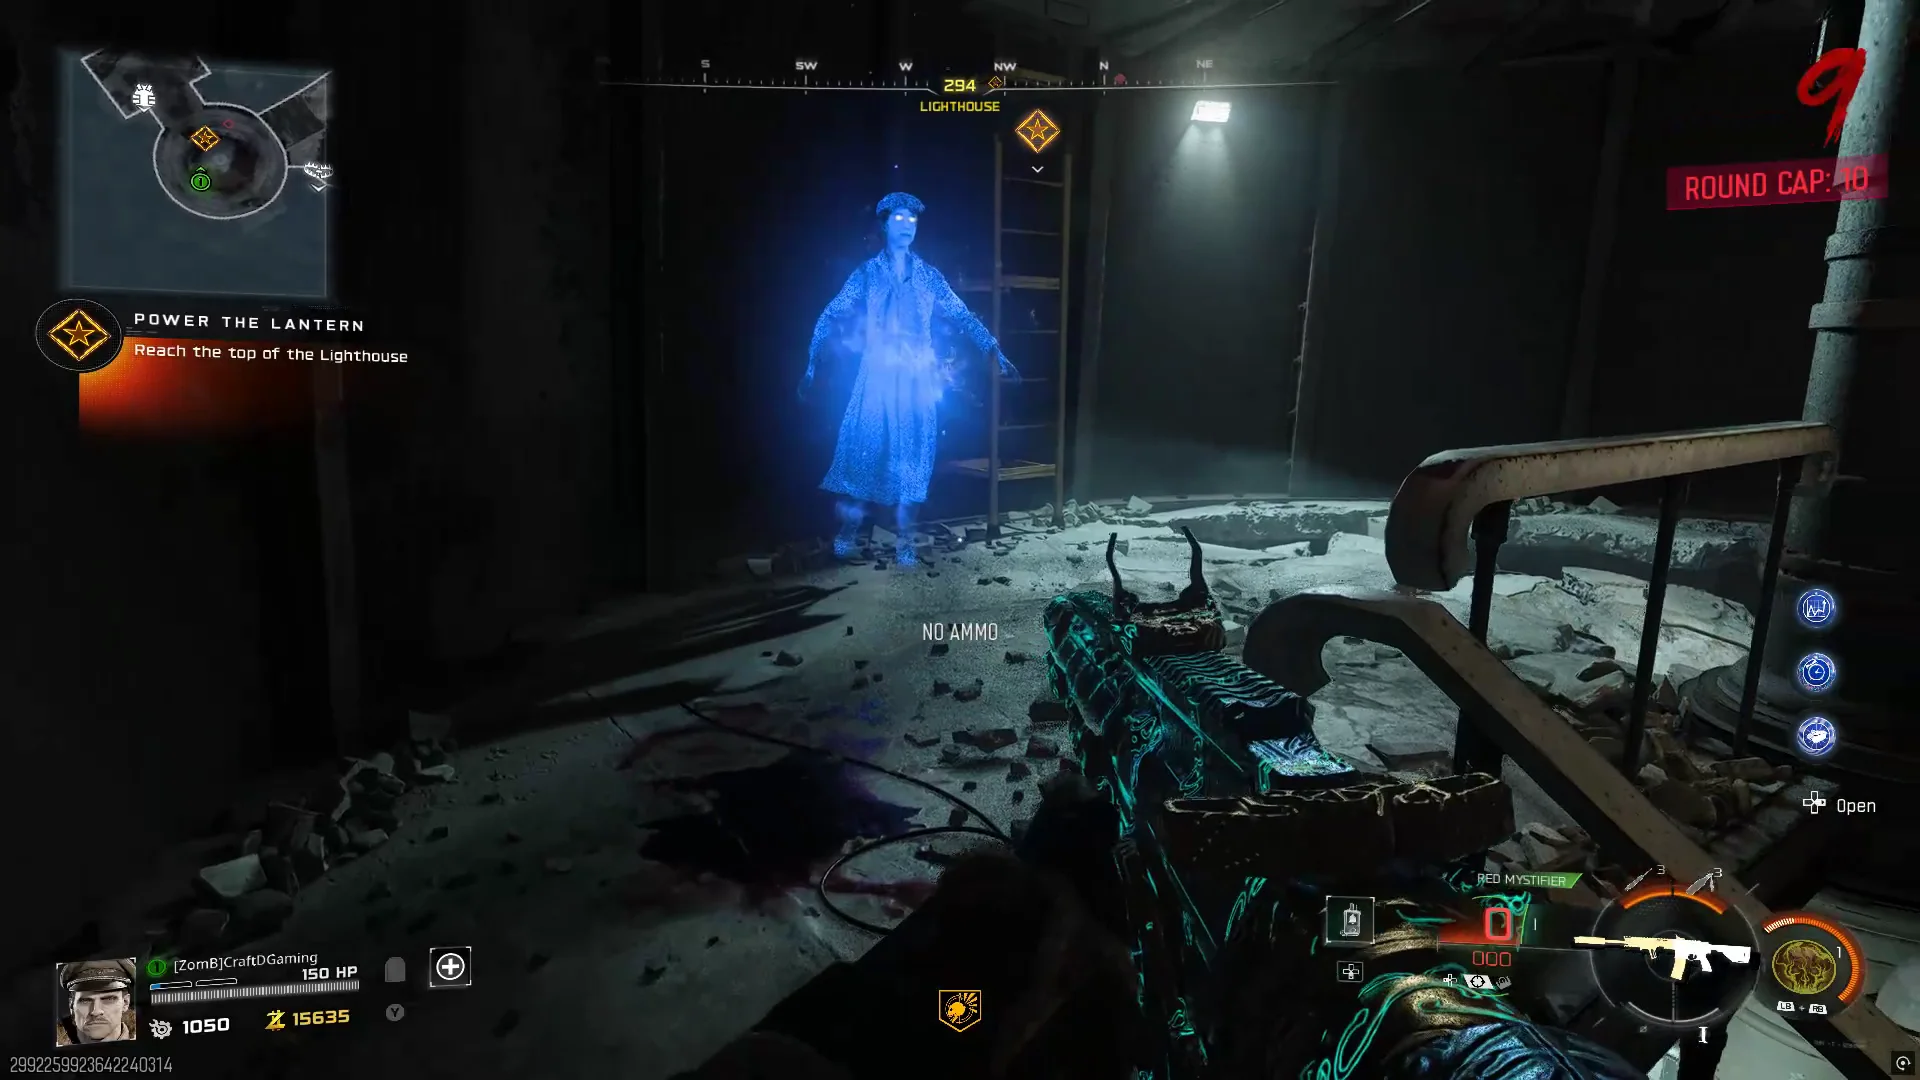
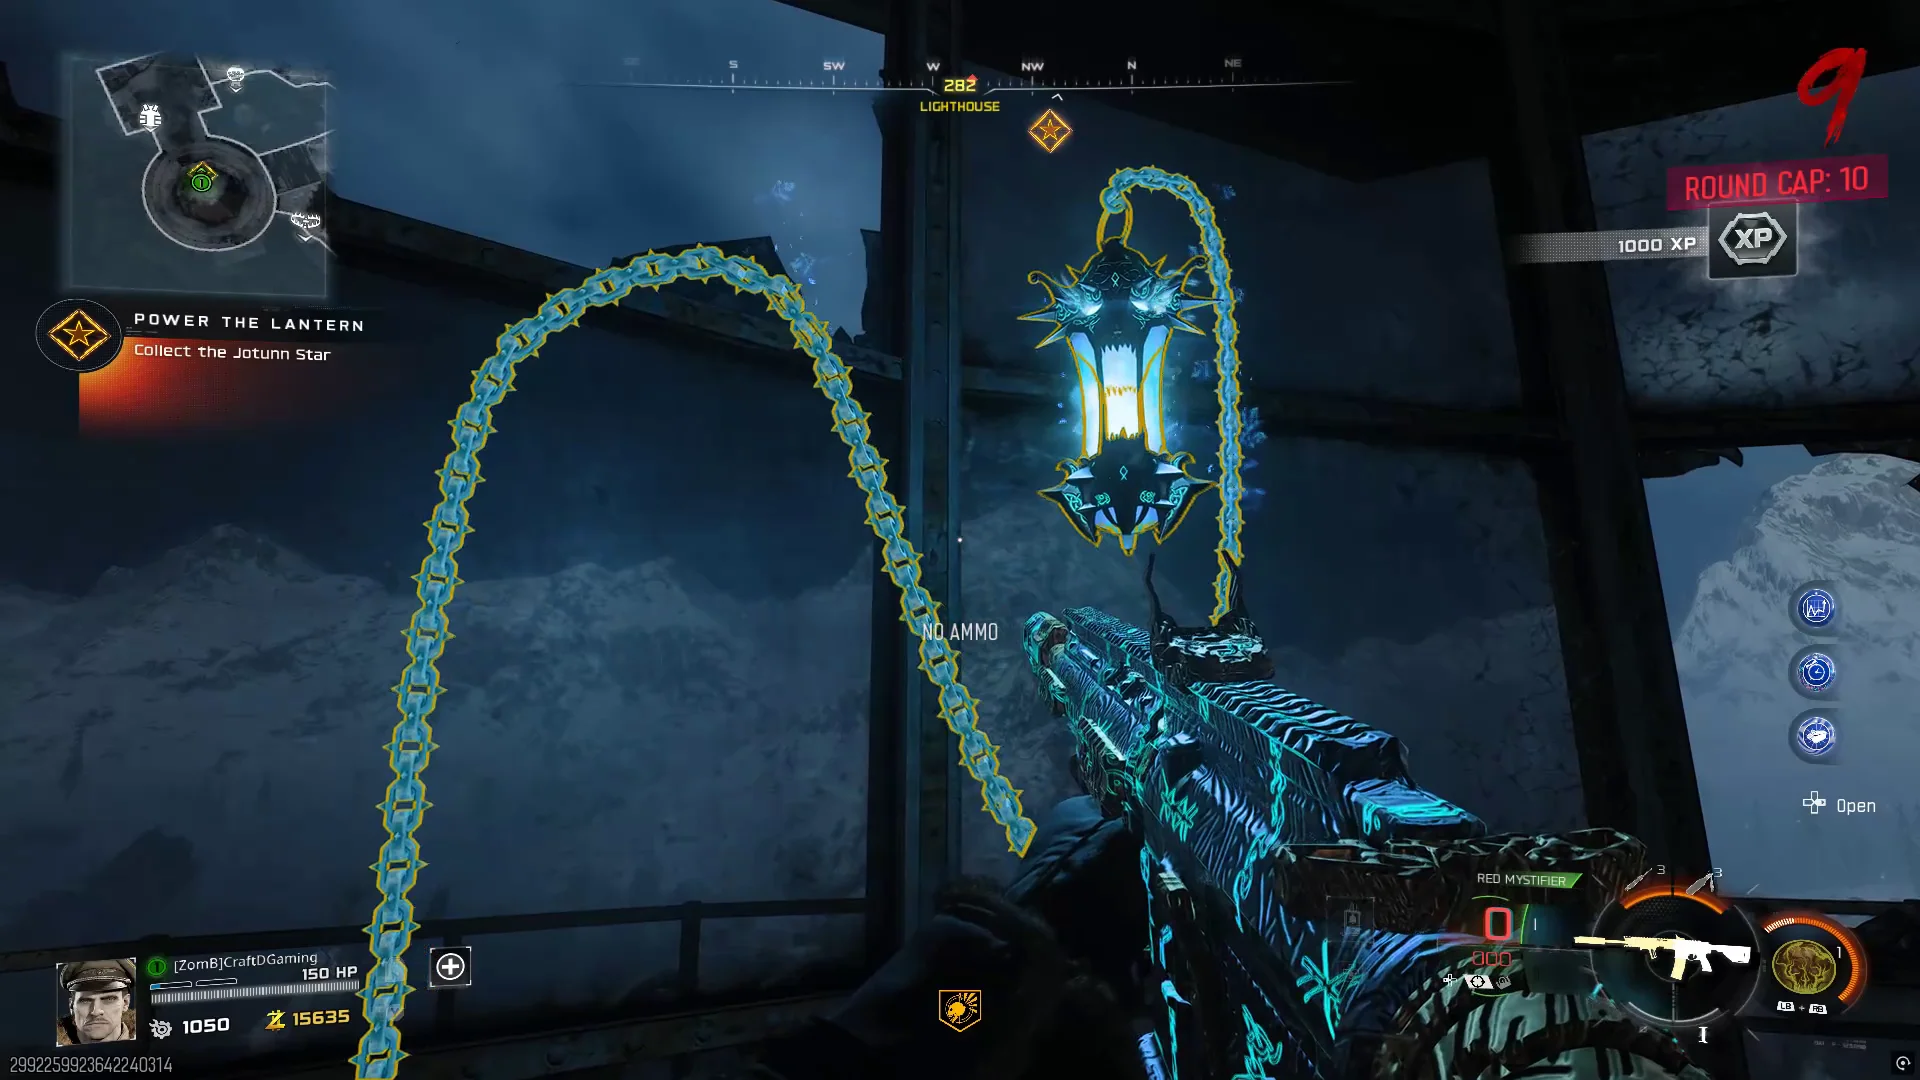
You can now wield the Jotunn Star and unleash its unique abilities against the undead hordes of Totenreich.